OI: Control
Stay on the right side of the move — bias, guards, and pacing in one execution layer. Powered by Closed-source Control Stack (CLM × VDE × SAND × PD).
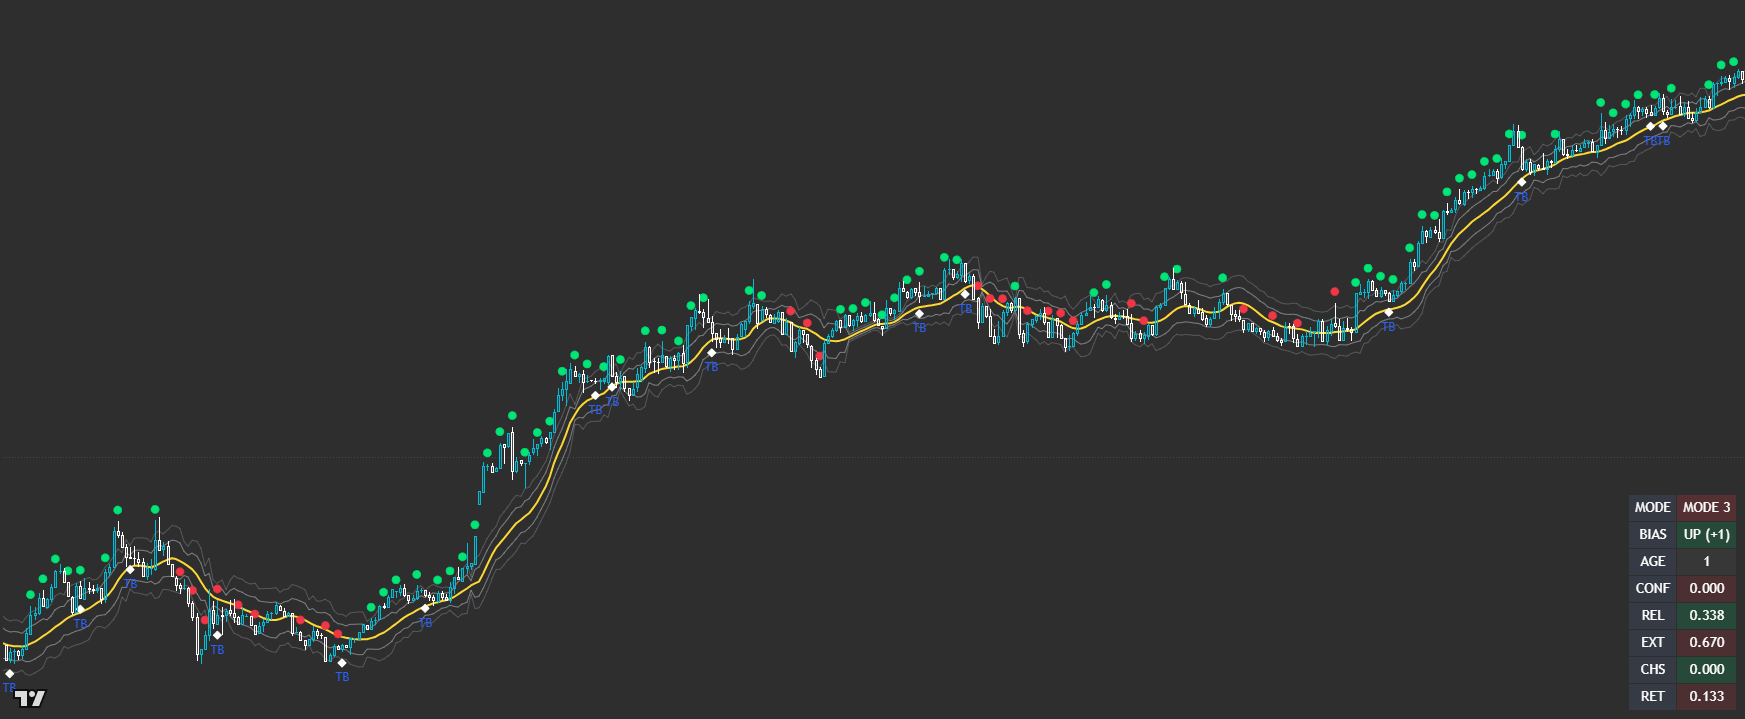
Control is your execution governor: a closed-source, multi-engine layer built to keep you aligned with the side driving the market. It blends multi-timeframe bias with regime/no-trade guards, session filters, and anti-chase pacing so you focus on higher-quality moments instead of reacting to noise.
Built for readable states and repeatable workflows — not indicator overload.
Designed to improve timing and decision quality while keeping the chart clean.
Sensible controls grouped logically — start with defaults, then tune for your market and session habits.
Access is managed via originalindicators.com — purchase, submit your TradingView username, and you’ll be added to the invite-only list.
A clear bias state so you know which side to prioritise
Regime / guard visuals that highlight stand-down conditions
Controlled entry markers when conditions pass the gates
Optional pacing behaviour to prevent rapid flip-flopping in chop
Step 1 — Define your session window and core timeframes (standardise first).
Step 2 — Use the bias state to choose direction: focus on longs with bullish bias, shorts with bearish bias.
Step 3 — Respect guards: when no-trade / regime protection is active, stand down or downshift risk.
Step 4 — Treat markers as ‘permission to engage’ — confirm with your structure (break/retest, pullback, reclaim).
Step 5 — Use pacing/late-entry protection to avoid chasing and reduce impulsive entries.
Step 6 — Review per session: Control improves when you trade the same hours + same execution TF consistently.
Best for
- Staying aligned with the dominant side during active sessions
- Reducing over-trading by using ‘permission + pacing’ rules
- Traders who want a repeatable, rules-first workflow across markets
- Using CLM/VDE/SAND/PD-style context without chart clutter
Not ideal for
- Anyone expecting frequent ‘always-on’ signals (Control is selective by design)
- Forcing trades in dead/quiet hours instead of filtering sessions
- Using markers as unconditional entries (they’re gated moments, not guarantees)
- Sampling TF (blank = chart) to match your execution timeframe
- MTF bias timeframes (set your HTF/LTF context to your style)
- Session / time filters (lock in your trading window)
- Signal pacing / min-spacing (reduce clustering in chop)
- Late-entry protection (avoid ‘already-moved’ entries)
Avoid over-tuning early
Start with defaults, learn the states, then tune for your main market and session habits. The edge comes from consistent execution, not constant parameter chasing.
Is OI: Control a full trading system?
It’s an execution layer — bias + guards + pacing. You can use it as a standalone decision framework or plug it into your existing entry model for cleaner selectivity.
How should I trade the markers?
Use them as gated moments: bias first, guard check second, marker third, structure confirmation fourth (then risk management).
What makes it different from public ‘buy/sell’ tools?
Control is built around closed-source gating and pacing behaviour (CLM/VDE/SAND/PD integrations) designed to stay stable and usable — not a public template that can be copied and diluted.
Will it work on different markets/timeframes?
Yes — it’s designed to be asset-agnostic. Best results come from standardising your session and a primary execution timeframe, then keeping your workflow consistent.
Works across assets and timeframes — best used as a decision layer alongside your execution model.
Get Access